
When you sign up at app.dayschedule.com/signup, DaySchedule walks you through five short steps. At the end you have a live booking page, such as yourname.dayschedule.com, that customers can use to book a time with you. A live preview on the right shows what your customers will see as you fill in each step.
The setup steps
- Verify OTP. Enter the 6-digit code sent to your email. Click Resend if it doesn't arrive within a minute.
- Add Phone. Add a mobile number to receive booking notifications by SMS.
- Create Page. Choose a Page Name and a Domain. The domain becomes your booking page address, for example
acme-consulting.dayschedule.com. DaySchedule tells you whether it's available. Add a short Description and pick a Theme. - Set Availability. Choose the days and hours you're open for bookings, and check that the time zone matches where you work.
- Create Event. Give the event a Name, such as "30 Minute Meeting", check the Link, choose one or more Durations, and pick a location type: Google Meet, Zoom, Microsoft Teams, a physical location, a phone call or a custom link.
You can click Skip for now to jump straight to the dashboard and finish later. Everything you set here can be changed afterwards:
- Working hours, holidays and daily limits are under Availability. See Set working hours and date overrides.
- The event lives under Resources. See Create a one-on-one meeting link.
- The page name, logo, theme and SEO settings are under Pages. See Customize your booking page.
Connect your video app before taking bookings
If you picked Google Meet, Zoom or Microsoft Teams as the location, connect that app in Settings, then Connections. DaySchedule then creates a unique meeting link for every booking and adds it to the confirmation email and calendar invite. Connect your Google or Office 365 calendar there too, so times you're already busy aren't offered to customers. See Connect calendars, video and payment apps.
Share your booking page
The last screen, You're all set, gives you two ways to start taking bookings:
- Share your booking link. Send it to customers, or add it to your email signature, LinkedIn profile or Google Business Profile.
- Embed on your website. Copy the embed code and paste it into an HTML or custom code block on your site. See Share and embed your booking page for WordPress, React and other options.
The same screen offers a 7-day Pro trial, which unlocks group events, round robin, webinars, services, payments, workflows and reminders. See Plans, billing and invoices.
What customers see when they book
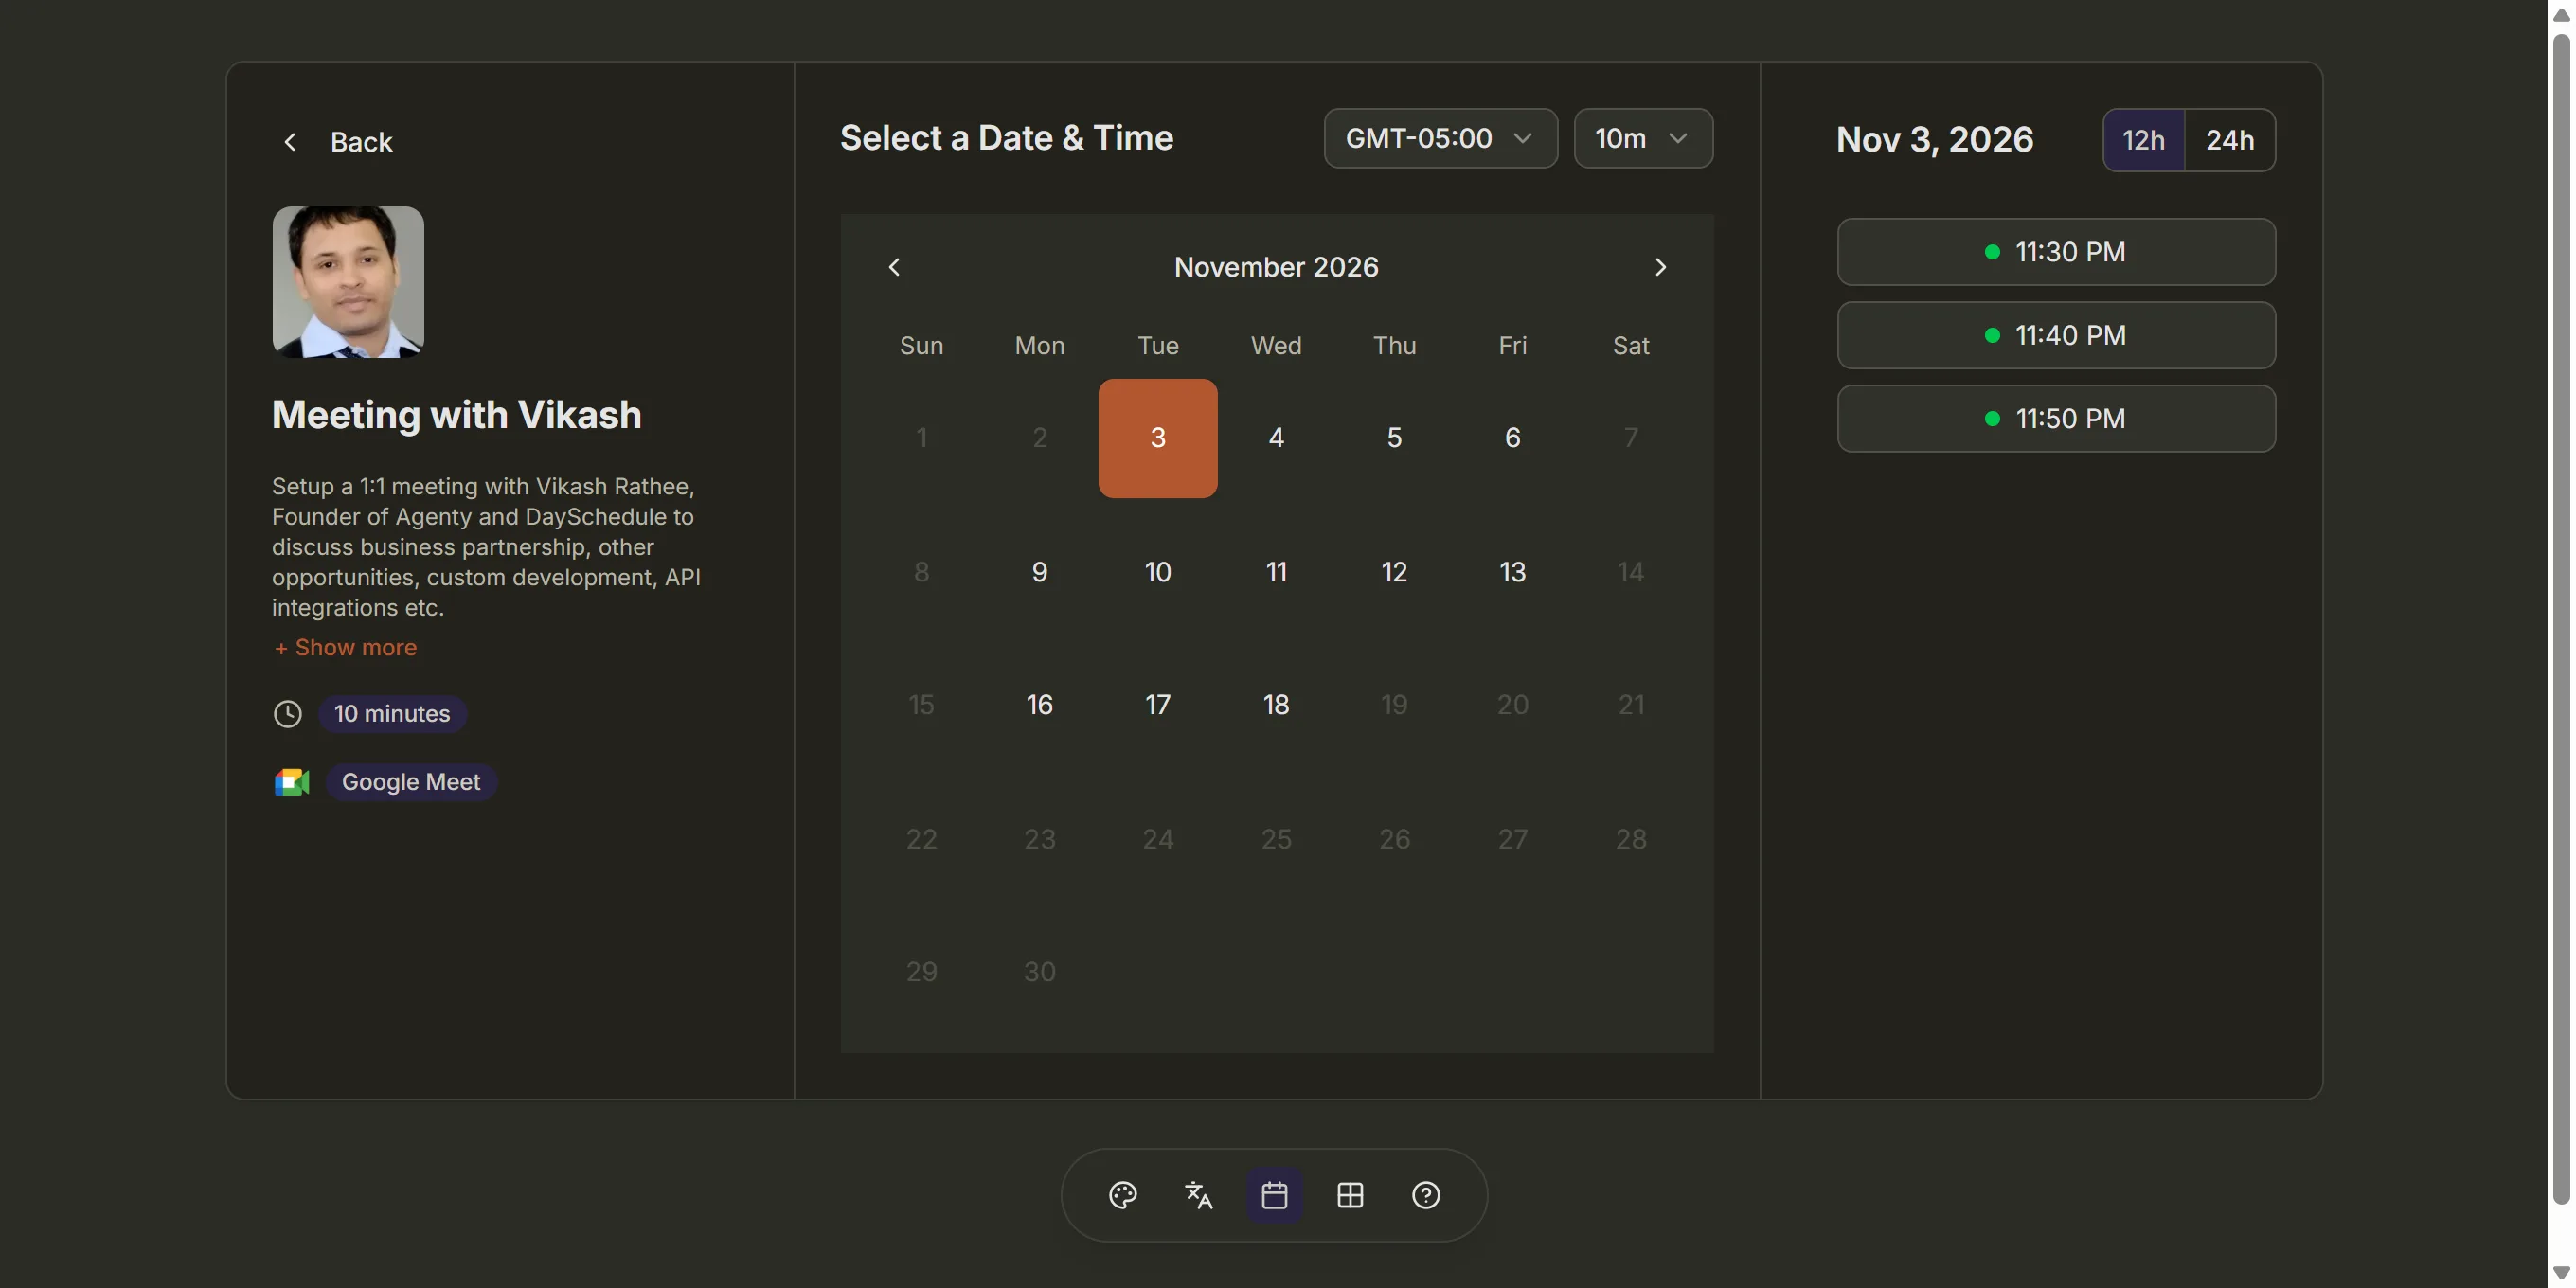
Your customers open the link, pick a date and a free time slot in their own time zone, and fill in the booking form. They get a confirmation email with a calendar invite, and you get a notification. The booking appears in Bookings in your dashboard, where you can reschedule, cancel or mark it as a no-show.
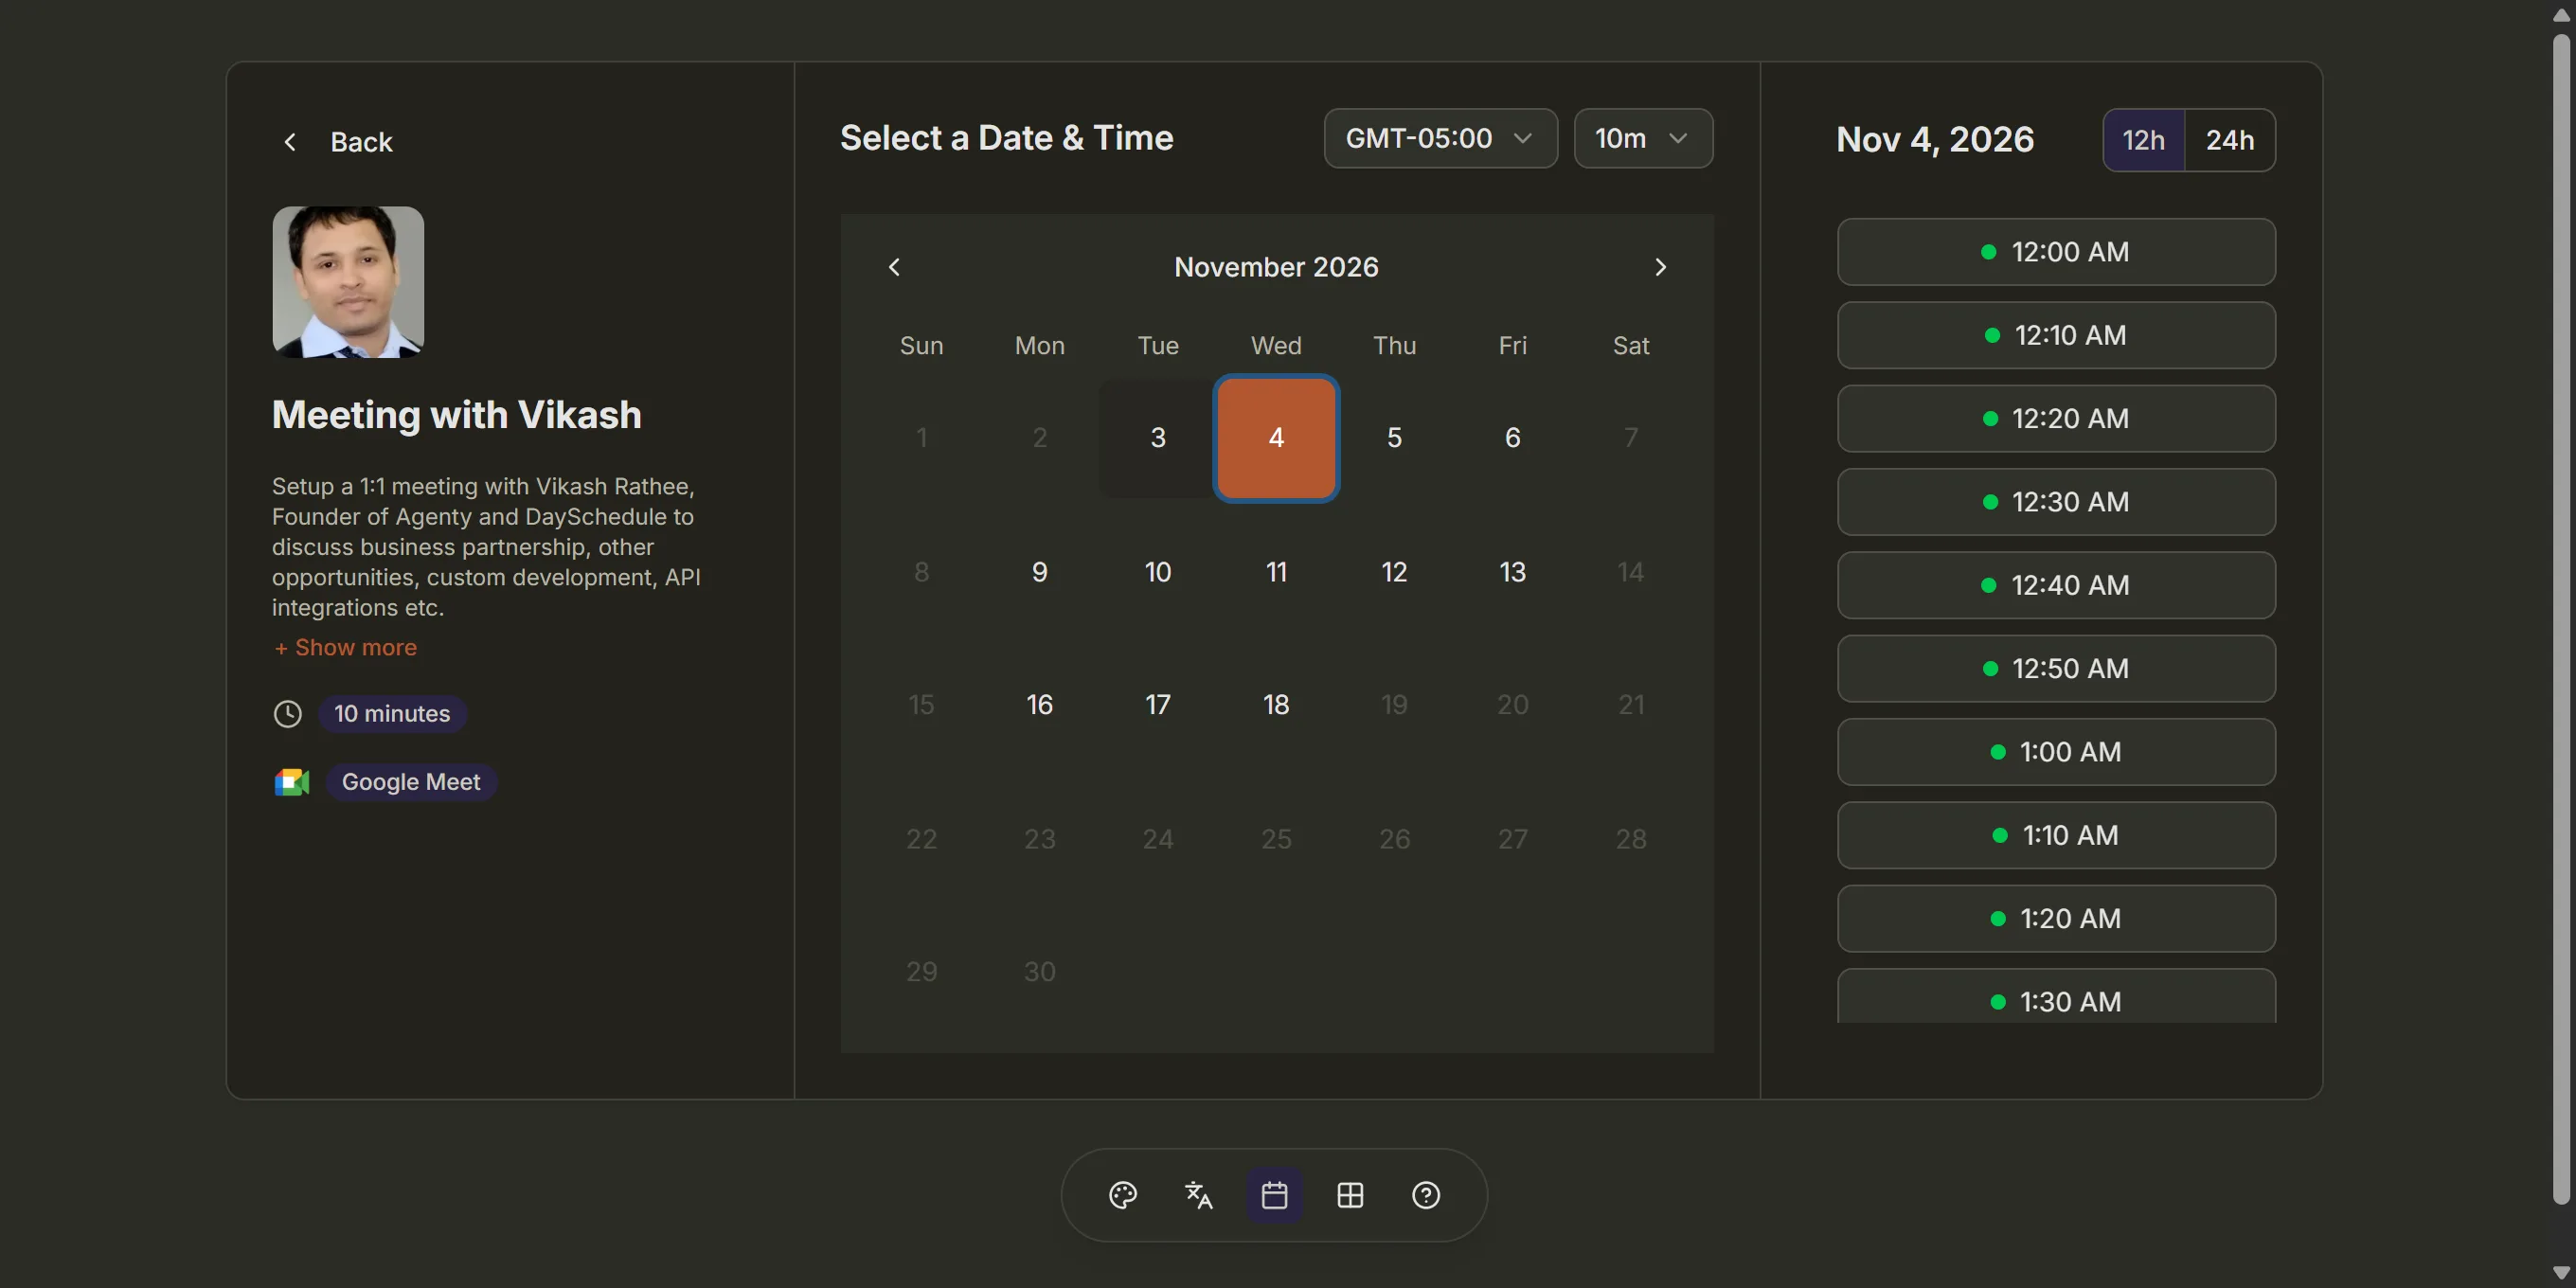
Want to test it? Open your booking link in a private browser window and book a time yourself. The How to book an appointment online guide shows the same flow from the customer's side.